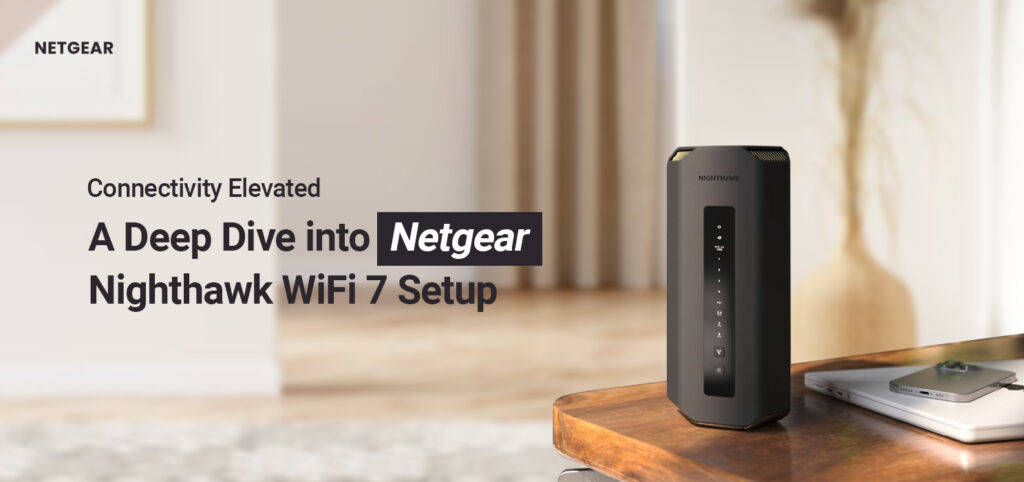
In the era of smart homes, networking devices are primary needs. Likewise, the Netgear Nighthawk WiFi 7 is one of them and is designed to meet the demands of modern homes and corporations. Additionally, this router is equipped with advanced features and to make the most of this router, you need to perform Netgear Nighthawk wifi 7 setup first.
However, setting up this powerhouse of a device is essential but easy with a simple-to-access web interface. In this guide, we will disclose the step-by-step process of setting up your Netgear Nighthawk Tri-Band WiFi 7 router, ensuring you enjoy lightning-fast internet speeds and robust network performance.
What do you need?
Additionally, to begin with, the Netgear Nighthawk wifi 7 setup, you first need to gather a few of the things that we list out below:
- Netgear Nighthawk WiFi7 router/modem
- Power adaptor
- Ethernet cable
- Stable network connection
- Web/App address
- Admin credentials
- Computer/Laptop
Steps to configure Netgear Nighthawk Tri-Band WiFi 7 settings
In addition, you can configure this Tri-band WiFi 7 router through two methods. First, you can access the login page through the web address and secondly, you can opt for the Nighthawk app. In this section, we explain both methods in steps. Let’s have a look below:
Netgear Nighthawk wifi 7 setup through the web address
- Initially, place the router in a central location for optimal coverage.
- After that, connect the router to a power source and turn it on.
- Next, link the router network to the computer/laptop by using the Ethernet cable for a wired connection.
- You can also go ahead for a direct connection through the Wi-Fi.
- Next, open a web browser and enter the http://www.routerlogin.net web address in the URL bar.
- You can also opt for the 192.168.1.1 IP address if the web address does not work.
- Hereon, a login window displays to you, log in using the default credentials given in the user manual.
- Once you’ve accessed the router interface, you can configure essential settings tailored to your needs.
- Next, change the WiFi network name (SSID) and password as recommended for better network security and privacy.
- Nwo, visit the Advanced setup dashboard and set up guest networks to provide internet access to visitors without compromising your main network’s security.
- You can also change the channel, and bandwidth, create bridge mode, and more here.
Netgear Nighthawk Tri-Band WiFi 7 setup using the Nighthawk app
- First and foremost, download and install the Nighthawk app on your smartphone.
- Next, open the app and create an account.
- Ensure your router is powered on and connected to the smart device.
- If you are already using the app, then log in with your default admin details.
- Now, select the Netgear Nighthawk Tri-Band WiFi 7 model that you have.
- After that, go to the smart setup wizard and click on Settings>WiFi.
- Hereon, select the network that your smart device has connected with.
- Finally, you can configure the further settings for your router by following the instructions given on the screen.
How to troubleshoot the Netgear Nighthawk wifi 7 setup issues?
Additionally, configuration errors are very common and halt the setup process. Similarly, these can arise due to incorrect login details, network disruptions, outdated firmware, etc. However, you can fix them by following the methods given below:
- Firstly, cross-verify the admin details you use. If they are incorrect, then reenter the accurate one.
- Ensure your router has a stable internet connection.
- Remove the obstructions if there are any like mirrors, cordless phones, etc. It will prevent network interruptions.
- If a Firmware update is available, then must update it.
- Check the network cable connections and tighten the loose connections.
- Also, replace the defective power cords or network cables.
- Remove the unnecessary cookies and cache from the web browser.
- Make sure you are using the latest version of the Nighthawk app.
- Check and temporarily disable the security software like VPN, Firewall, AD blocker, etc. You can re-enable them after completing the process.
Read More: Netgear Router Setup
Final Thoughts
In summary, Netgear Nighthawk WiFi 7 is the latest networking device that is compatible with the futuristic WiFi 7 internet technology. Similarly, to make the most of your tri-band router, you need to perform Netgear Nighthawk WiFi 7 setup. After accessing the admin panel, you can tailor the settings of your network according to your requirements. If you face any issues with the configuration process, then check with our troubleshooting section. If still looking for help, reach out to us here on our website.
