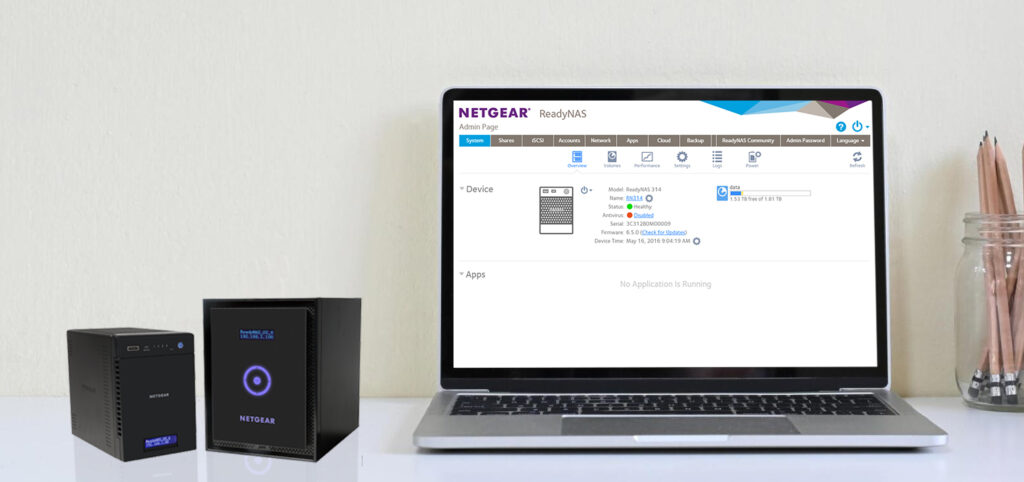
Netgear ReadyNAS is your perfect choice whenever you are looking to have a dedicated storage option for your network. In a typical scenario, you can connect one of these storage systems to a network switch or a router, and you can access settings related to it on the ReadyNAS OS.
The ReadyNAS is set as a DHCP Client by default. This means that it will request an IP address from the DHCP server every time it is on LAN. Now, most networks have a dedicated DHCP server and most home routers will also provide this service. Once the ReadyNAS obtains an IP address from the DHCP server, it will work on your LAN connection.
How to find the IP address for ReadyNAS OS 6?
The details related to the IP address can be checked on the LCD panel if your ReadyNAS model supports it. If the LCD is turned off, you can tap on the power button or the touch screen to view the same. If you are still unable to find the IP address of your ReadyNAS device, you can use the RAIDar software to determine the same. Once you launch the software, you will see the details mentioned on the screen.

How to access the ReadyNAS OS Admin Page?
You can access the main web admin page of your ReadyNAS by clicking on the Admin Page button in the RAIDar software. Alternatively, you can also use the URL https://[IP_ADDRESS]/admin in a web browser. Type the same in the address bar of your web browser and Press Enter. You will be taken to the admin page.
If you are unable to access the ReadyNAS OS6 admin page using the IP address found in RAIDar, it may be due to the unavailability of a DHCP server in the LAN. In such a case, ReadyNAS will assign itself a Private IP address automatically. This IP address will be in the range of 169.254.0.0 to 169.254.255.255. You will be able to see the exact values on the RAIDar software.
Read More: Netgear Router Setup
Changing the IP address of your ReadyNAS
If you do not have a DHCP server in your LAN connection, you will need to change the IP address to make ReadyNAS more accessible over the network. Here are some steps you can follow to change the IP address of your ReadyNAS:
- Make a note of the existing IP address being used on LAN. This can be determined using a Windows PC connected to the same LAN that your ReadyNAS is installed on.
- Open Command Prompt on your computer. Click Start and type CMD. Press Enter and the Command Prompt window will appear.
- Type ipconfig in the Command Prompt application and hit Enter.
- You will now see all the details related to your network IP address as visible in the image below:

In the example image above, the existing network subnet is 192.168.1.0/24. This is in the range of 192.168.1.2 to 192.168.1.254 and will allow host access to the network. Also, the network subnet in your network can be different from the values visible in the image.
Steps to follow for ReadyNAS OS 6
- Take an ethernet cable and connect one end of it to the Network Interface Card(NIC) of your computer and the other end to the ethernet port on your ReadyNAS device.
- You can now launch RAIDar to find the IP address details of your ReadyNAS device.
- Change the IP address on your computer to match the IP subnet that is currently assigned to the readyNAS device.
- Open the Control Panel on your computer and then head to the Network and Sharing Center. Click on Change Adapter Settings and right-click on the connected NIC. Finally, hit Properties and you will see information regarding the Networking.
- Select Internet Protocol Version 4(TCP/IPv4) and then click on the Properties button.

- From the new window that opens up, select Use the following IP address radio button and then type in the IP address values. Click on the OK button twice to confirm.

Accessing ReadyNAS OS 6 on your LAN
- In your web browser, type in the URL https://[IP_Address]/admin and press Enter. [IP_Address] is the actual IP address you have for your Netgear ReadyNAS device as seen in the RAIDar software.
- You will now be prompted to log in to the Netgear ReadyNAS OS 6 Admin page. The default login credentials you can use for login are:
Username: admin; Password: password.
- Once logged in, you can change the IP address on your ReadyNAS to match your existing LAN subnet. Go to Network>Links and click on the gear icon next to the name of the Connected NIC. Click on the Settings option now.

- Now, head to the IPv4 tab and change the Configure drop-down menu to static.
- Type in an IP address, Subnet Mask, and router to match the existing network.

- Also, type in the IP address of the DNS server and click on the Add button. Finally, click on the Apply button.
- Reconnect your ReadyNAS to the LAN connection or, you will lose connection to the Admin page.
- Launch the RAIDar software to find your ReadyNAS and confirm the new IP address.
- You can now disconnect the computer’s NIC from the ethernet port of your ReadyNAS device. Reconnect the computer and ReadyNAS to the LAN connection. Your ReadyNAS will now be accessible on the IP address that you have assigned.
Recommended Video: How to access the ReadyNAS OS 6 storage system after installing it on a Local Area Network? – YouTube
